Singer 1120 Sewing Machine Manual: A Comprehensive Guide
Discover essential resources, including a downloadable PDF manual, for your Singer 1120. Find instructions, troubleshooting, and parts information readily available online today!
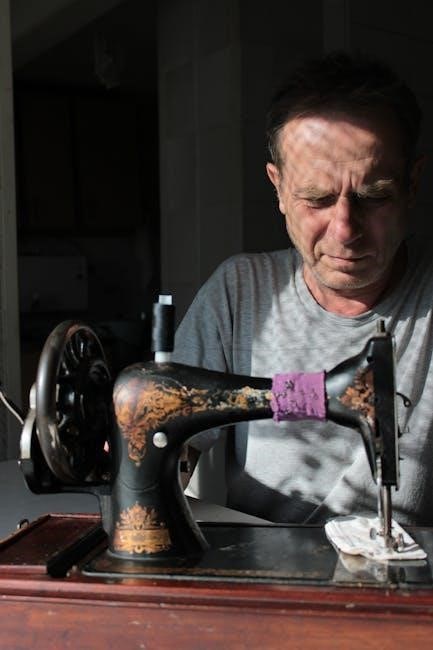
The Singer 1120 is a popular, reliable sewing machine known for its versatility and ease of use, making it a favorite among both beginners and experienced sewers. This machine offers a range of stitch options suitable for various projects, from simple garment construction to home décor. Understanding its features and operation is key to unlocking its full potential.
This comprehensive guide aims to provide you with all the information needed to effectively use and maintain your Singer 1120. We’ll cover everything from initial setup and threading to advanced techniques and troubleshooting common issues. Accessing the Singer 1120 manual PDF is crucial for detailed diagrams and step-by-step instructions. Numerous online resources offer free downloads and support, ensuring you can always find assistance when needed. Proper care and maintenance, guided by the manual, will extend the life of your machine and ensure consistent performance.
Understanding the Machine’s Features
The Singer 1120 boasts a variety of features designed for convenience and precision. Key components include adjustable stitch length and width controls, allowing for customization based on fabric and project needs. It offers a selection of built-in stitch patterns, catering to diverse sewing applications. The machine accommodates various presser feet, expanding its functionality for tasks like zipper insertion and buttonholes.
A crucial aspect is understanding the bobbin winding and insertion system, detailed within the Singer 1120 manual. The upper threading path, clearly illustrated in the manual’s diagrams, ensures proper tension. Familiarizing yourself with these features, alongside the foot pedal’s responsiveness, will significantly improve your sewing experience. Replacement parts, such as needles and bobbins, are readily available online, ensuring continued operation. Online forums provide valuable insights from fellow users regarding optimal feature utilization.
Setting Up Your Singer 1120
Prepare for successful sewing! Connect the power, wind the bobbin, and thread the machine following the Singer 1120 manual’s clear, step-by-step instructions.
Initial Setup and Power Connection
Before you begin sewing with your Singer 1120, proper initial setup is crucial for optimal performance and safety. Begin by carefully unpacking your sewing machine and ensuring all components are present. Place the machine on a stable, level surface with adequate space for operation and fabric handling;
Next, connect the power cord to a grounded electrical outlet. Verify the voltage indicated on the machine matches your household voltage to prevent damage. The Singer 1120 manual emphasizes the importance of using the correct voltage. Ensure the power switch is in the “OFF” position before plugging in the machine.
Familiarize yourself with the machine’s controls, including the power switch, foot pedal, and stitch selection dial. A quick review of the manual’s diagrams will be beneficial. Always unplug the machine before performing any maintenance or changing parts. Following these initial steps will ensure a safe and productive sewing experience with your Singer 1120.
Winding the Bobbin
Proper bobbin winding is essential for consistent stitch quality on your Singer 1120. Begin by placing the spool of thread onto the spool pin, securing it with the spool cap. Next, guide the thread through the thread guides as illustrated in the Singer 1120 manual. Ensure the thread is properly seated in the tension disc for even winding.
Place the empty bobbin onto the bobbin winder spindle. Engage the bobbin winder by sliding it to the right. Gently press the foot pedal to start the winding process. The machine will automatically stop when the bobbin is full.
Once full, disengage the bobbin winder and remove the bobbin. Trim the thread end close to the bobbin. It’s crucial to wind the bobbin evenly to avoid thread bunching during sewing. Refer to the manual’s diagrams for a visual guide to ensure correct threading and winding technique for optimal results with your Singer 1120.
Threading the Upper Thread
Correct upper threading is vital for the Singer 1120’s operation. Begin with the machine turned off and the presser foot raised – this releases the tension discs. Place the spool of thread on the spool pin, securing it with a spool cap. Guide the thread through the first thread guide, then down and around the tension discs, ensuring it seats firmly between them.
Continue threading upwards, following the path indicated in your Singer 1120 manual. Pass the thread through the take-up lever, then down through the needle clamp. Finally, thread the needle from front to back. A needle threader can be helpful for easier threading.
Always double-check that the thread is properly seated in all guides and the tension discs. Incorrect threading can lead to skipped stitches or thread breakage. Refer to the manual’s diagrams for a clear visual guide to ensure accurate threading every time, maximizing your sewing experience.
Inserting the Bobbin
Proper bobbin insertion is crucial for smooth sewing on your Singer 1120. First, ensure the machine is turned off. Locate the bobbin case; it’s typically a side-loading or front-loading mechanism. Gently pull out the bobbin case. Wind a bobbin with thread, following the winding instructions in your manual.
Insert the bobbin into the bobbin case, ensuring the thread unwinds in the correct direction – usually clockwise or counter-clockwise, as indicated by the arrows on the machine. Thread the bobbin thread through the tension spring of the bobbin case.
Carefully reinsert the bobbin case into the machine until it clicks into place. Gently pull on the bobbin thread to bring it up through the needle plate. Confirm the thread is correctly positioned before starting to sew. Refer to your Singer 1120 manual for specific diagrams and guidance.
Basic Sewing Operations
Master stitch selection, length, and width adjustments on your Singer 1120. Learn to start, stop, and reverse sew for perfect results every time!
Selecting Stitch Patterns
Your Singer 1120 boasts a variety of stitch patterns, offering versatility for diverse sewing projects. To select a stitch, locate the stitch selection dial – typically positioned on the front of the machine. This dial features a chart illustrating available stitches, including straight stitch, zigzag stitch, and potentially decorative options.
Carefully rotate the dial until the desired stitch number or symbol aligns with the indicator mark. Ensure the dial clicks into place to confirm proper selection. For basic seams, the straight stitch is ideal, while the zigzag stitch excels in finishing raw edges and creating stretchable seams. Experiment with different stitch widths and lengths to achieve varied effects.
Remember to consult the stitch guide within your manual for specific recommendations on appropriate settings for different fabrics and applications. Proper stitch selection is crucial for achieving professional-looking results and ensuring the durability of your sewn items. Always test the chosen stitch on a scrap fabric before beginning your project.
Adjusting Stitch Length and Width
The Singer 1120 allows precise control over stitch length and width, crucial for adapting to various fabrics and desired aesthetics. Stitch length is typically adjusted using a dial or slider, often marked with measurements in millimeters. Shorter stitch lengths are ideal for delicate fabrics and intricate details, while longer lengths suit heavier materials and quicker sewing.
Stitch width, primarily relevant for zigzag and decorative stitches, is similarly adjusted via a separate dial or slider. Increasing the width creates a broader stitch, useful for reinforcing seams or creating decorative embellishments. Always test your settings on a scrap piece of fabric before starting your project to ensure the desired outcome.
Refer to your machine’s manual for specific guidance on optimal settings for different fabrics and stitch types. Incorrect settings can lead to puckering, skipped stitches, or weakened seams. Fine-tuning these adjustments is key to achieving professional-quality results with your Singer 1120.
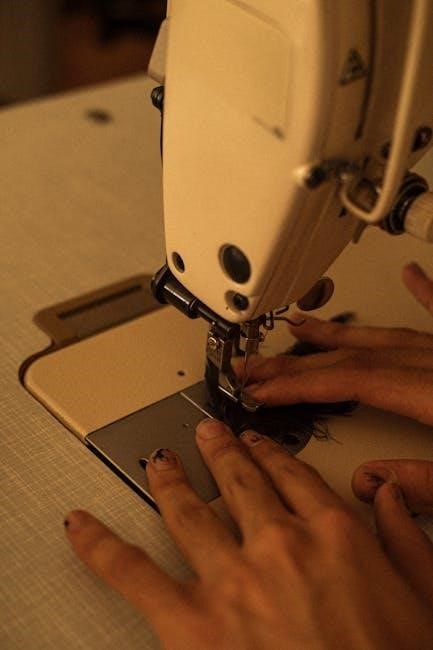
Starting and Stopping Sewing
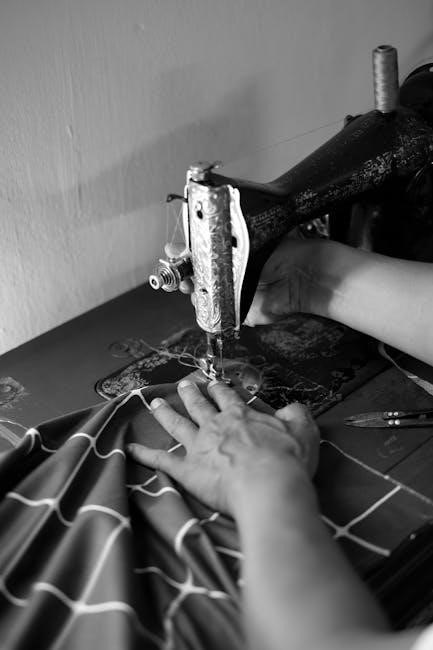
To begin sewing on your Singer 1120, gently depress the foot pedal to initiate the stitching process. Maintain a consistent, moderate pressure for even and controlled sewing speed. Avoid abrupt starts or stops, as these can cause thread breakage or uneven stitches. Always guide the fabric gently; do not force it through the machine.
When reaching the end of a seam, or needing to pivot the fabric, stop the machine by lifting your foot from the foot pedal. It’s crucial to also lift the presser foot before pulling the fabric away, releasing the tension and preventing damage to the thread or fabric.
For precise stopping points, utilize the needle up/down function if your model includes it. This allows you to end the stitch with the needle either in the up or down position, providing greater control and accuracy. Remember to always disconnect the power when performing maintenance or changing the needle.
Reverse Sewing
The Singer 1120 offers a reverse function, essential for securing the beginning and end of seams. To engage reverse, locate the reverse lever or button – typically positioned near the handle. Push or press it to activate reverse stitching.
While in reverse, gently depress the foot pedal to stitch backward. Be mindful of the stitch length; shorter stitches are generally recommended for reverse sewing to provide a stronger and more secure back tack. Avoid excessively long reverse stitches, as they can appear bulky and detract from the finished seam.
Release the reverse lever or button to return to forward sewing. Always reinforce the beginning and end of seams with a few reverse stitches to prevent unraveling. Practice using the reverse function to become comfortable with its operation and achieve neat, professional-looking results.
Advanced Techniques & Troubleshooting
Explore specialized presser feet and solutions for common issues like thread breakage or skipped stitches, ensuring optimal performance of your Singer 1120.
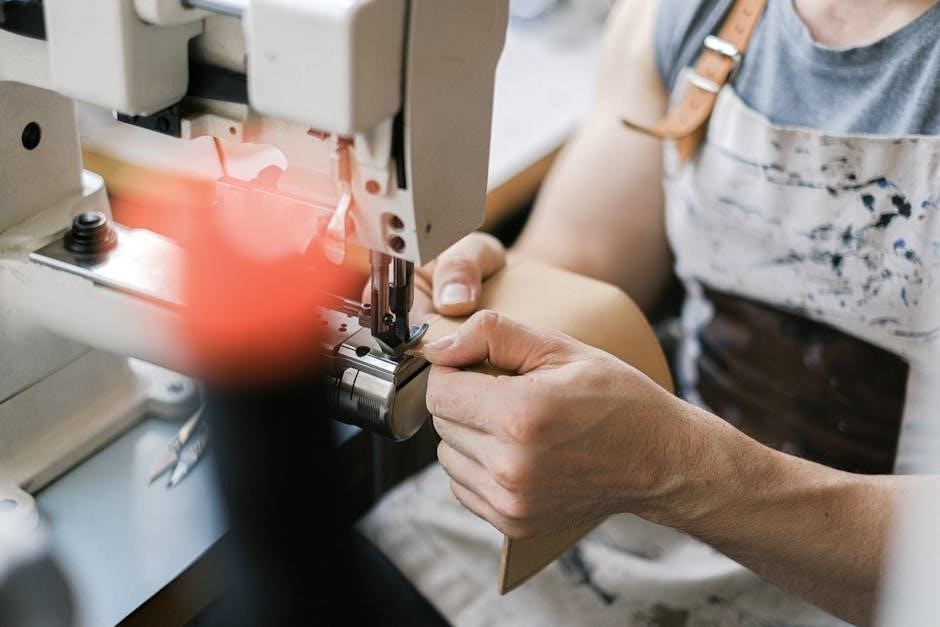
Using Different Presser Feet
Expanding your Singer 1120’s capabilities requires understanding the diverse range of presser feet available. Each foot is designed for a specific sewing task, dramatically improving stitch quality and ease of use. The standard zig-zag foot handles most everyday sewing, while a narrow zig-zag foot excels with delicate fabrics and precise applications.
For zipper insertion, a dedicated zipper foot allows close stitching along the teeth. Buttonhole feet simplify creating professional-looking buttonholes, and a blind hem foot delivers nearly invisible hems. Beyond these, consider a gathering foot for creating ruffles, a quilting foot for even stitch distribution, and an open-toe foot for enhanced visibility when working with decorative threads.
Proper installation is crucial; ensure the foot clicks securely into place. Experimenting with different feet unlocks the full potential of your Singer 1120, enabling you to tackle a wider variety of sewing projects with confidence and precision. Refer to your manual for specific foot recommendations based on fabric type and desired stitch effect.
Troubleshooting Common Issues (Thread Breakage)
Frequent thread breakage on your Singer 1120 can be frustrating, but often has a simple solution. First, re-thread the entire machine, ensuring the thread is properly seated in all tension discs and guides. Incorrect threading is the most common cause. Verify you’re using the correct needle size for your fabric weight; a too-small needle can strain the thread.
Check the needle for damage – a bent or burred needle will consistently break thread. Ensure the bobbin is wound evenly and inserted correctly, with the thread flowing smoothly. Adjust the upper tension; too much tension increases the risk of breakage. Also, confirm you’re using quality thread; cheap thread is prone to snapping.
Finally, clean the machine, removing any lint or debris that could interfere with thread flow. If the problem persists, consult your manual’s troubleshooting section for further guidance and potential mechanical issues.
Troubleshooting Common Issues (Skipped Stitches)
Experiencing skipped stitches with your Singer 1120? Several factors could be at play. Begin by replacing the needle – a dull or damaged needle is a frequent culprit. Ensure the needle is correctly inserted, with the flat side facing the correct direction (usually towards the back). Verify you’re using the appropriate needle type and size for your fabric; lightweight fabrics require finer needles.
Re-thread both the upper thread and the bobbin, paying close attention to the threading path. Incorrect threading can disrupt the stitch formation. Check the bobbin case for lint or debris, as this can hinder smooth operation. Adjust the presser foot pressure; insufficient pressure may cause skipped stitches.
Lastly, confirm the timing of your machine is correct, though this may require professional servicing. Consult your manual for detailed diagrams and troubleshooting steps specific to skipped stitches.
Maintaining Your Singer 1120
Regular maintenance ensures your Singer 1120 operates smoothly for years. Frequently brush away lint and dust from the bobbin area and feed dogs using a small brush – accumulated debris impacts stitch quality. Lightly oil the machine according to the manual’s instructions; focus on moving parts like the bobbin winder and needle bar. Avoid over-oiling, as excess oil attracts dust.
Periodically inspect the needle and replace it when it becomes dull or bent. Clean the exterior of the machine with a soft, damp cloth. Store your Singer 1120 covered to protect it from dust and damage. A clean machine is a happy machine!
Remember to unplug the machine before any maintenance. Following these simple steps will prolong the life of your Singer 1120 and maintain optimal performance.
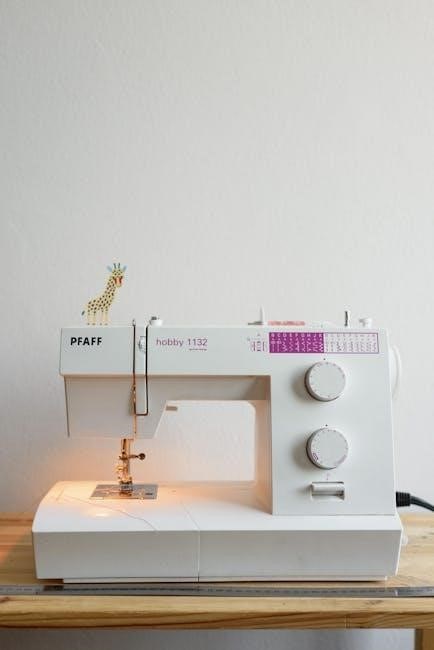
Resources and Downloads
Access free Singer, PFAFF, and Husqvarna Viking manuals online! Download the Singer 1120 instruction PDF, find parts, and join support forums for assistance.
Finding the Singer 1120 Manual PDF
Locating a digital copy of the Singer 1120 sewing machine manual PDF is surprisingly straightforward in today’s digital landscape. Several websites specialize in providing free downloadable manuals for various sewing machine models, including the popular Singer 1120. A quick online search using keywords like “Singer 1120 manual PDF” will yield numerous results.
Many websites offer the manual for direct download, often for a small fee (around $5.99 as noted in some sources), while others provide it as a free resource. Be cautious when downloading from unfamiliar sites and ensure your antivirus software is up-to-date. Reputable sources include dedicated sewing machine manual archives and online communities focused on sewing and machine repair.

Furthermore, some websites allow you to view the manual directly in your browser without needing to download it. The Singer 1120 manual typically spans around 38 pages and covers everything from initial setup and threading to troubleshooting common issues. Remember to save a copy to your device for easy access whenever you need it!

Where to Purchase Replacement Parts
Sourcing replacement parts for your Singer 1120 sewing machine is generally quite accessible, thanks to its continued popularity and the availability of parts online. Numerous retailers specialize in sewing machine components, offering a wide selection of bobbins, needles, presser feet, foot pedals, and other essential parts.
Online marketplaces like eBay and Amazon are excellent starting points, often featuring both new and used parts from various sellers; Dedicated sewing machine parts websites provide a more focused selection and often offer detailed compatibility information. Local sewing machine repair shops can also source parts for you, providing expert advice and installation services.
When ordering parts, it’s crucial to verify compatibility with the Singer 1120 model. Providing the machine’s serial number can help ensure you receive the correct components. Don’t hesitate to consult the manual or online forums for guidance if you’re unsure about a specific part’s suitability.
Online Support Forums and Communities
Engaging with online support forums and communities dedicated to Singer sewing machines, particularly the 1120 model, can be an invaluable resource for owners. These platforms offer a space to connect with fellow enthusiasts, share experiences, and seek assistance with troubleshooting or repairs.
Numerous forums and Facebook groups are specifically focused on vintage and modern Singer machines, providing a wealth of knowledge and expertise. Users frequently post questions, share tips, and offer solutions to common problems encountered with the 1120. Searching these forums can often reveal answers to issues you’re facing.
Beyond troubleshooting, these communities are excellent for learning advanced techniques, discovering helpful resources, and staying updated on parts availability. Active participation allows you to contribute your own knowledge and benefit from the collective wisdom of other Singer 1120 users.

Safety Precautions
Always follow basic safety guidelines when operating your Singer 1120. Disconnect power before maintenance, and keep fingers clear of the needle during sewing operations.
General Safety Guidelines
Before beginning any sewing operation with your Singer 1120, carefully read and understand this manual’s safety precautions. Always disconnect the sewing machine from the power source when not in use, before cleaning, or when changing parts like the needle or presser foot.
Never operate the machine with a damaged cord or plug. If the power cord is damaged, it must be replaced by a qualified technician to avoid electrical hazards. Keep the machine’s surrounding area clear of clutter and flammable materials.
Exercise extreme caution when sewing near children or pets. Never leave the machine unattended while it is plugged in. Always use the correct needle and accessories for your fabric type. Avoid pulling or forcing the fabric while sewing, as this could cause the needle to break or result in injury. Do not attempt to repair the machine yourself; seek professional assistance for any malfunctions.